


“Ohhh, yeah. That’s a nice hunk o’ brisket you’ve got there.” See? That’ll be the reaction you’ll get when you christen your grill for the Spring and cook up some tender, flavourful, spiced brisket. Serve on its own, or on some nice soft buns (he he… we said “soft buns”) with a heaping scoop of coleslaw. Also, beer. You’ll definitely want a beer. Don’t necessarily count on your neighbourhood Giganto-grocery to have brisket in stock. Better to call your local butcher. In Calgary there are lots of great butchers – try Master Meats if you’re near our North store. In Oakville, I’d head over to Florence Meats.
Simple Spiced Brisket
Serves 4Ingredients:
1 5-lb brisket (you can use a larger brisket, just be sure to increase cooking time and ingredients accordingly) ¼ cup brown sugar ¼ cup paprika (mild or hot, it’s up to you!) 1 tablespoon coarse sea salt 1 tablespoon fresh ground black pepper Barbecue sauce, to finish
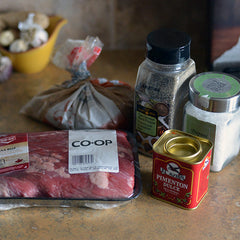
Step 1: Assemble your ingredients.

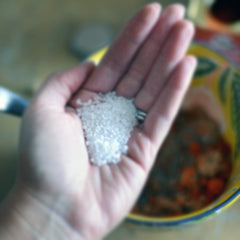
Step 2: Place the brown sugar in a small bowl.

Step 3: Add the paprika, salt, and pepper to the bowl.
Step 4: Mix it all up.
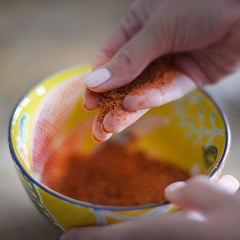
Step 5: Use your fingers to break up any chunks of brown sugar.
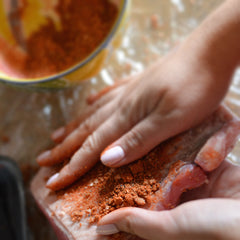
Step 6: Rub the mixture all over the brisket.
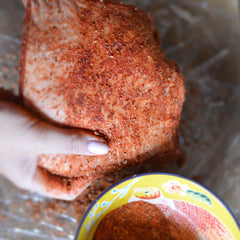
Step 7: Really rub it in. Just give that brisket a quick massage before you sentence it to a long, slow cook on the grill.
Step 8: Wrap the seasoned brisket in plastic wrap and put it in the fridge.
Step 9: Wash your hands. That stuff really sticks to your fingers. Do not lick your fingers.
Step 10: After 2-4 hours (or, even better, overnight!), remove the brisket from the fridge (AND the plastic wrap. No, heating the plastic will not “seal in the moisture”) and place it in an aluminum grilling pan. Preheat one side of the grill to medium heat, and place the wood chips (in a grilling pan or smoker box), on that side. Reduce heat to low-medium. Place the meat (still in the pan, we didn’t just put it in there for fun) on the side of the grill that is not on, to allow for indirect cooking. Close the lid of the barbecue and let it cook for a couple of hours. If you’re cooking a larger brisket, let it cook for 3-4 hours. Flip it.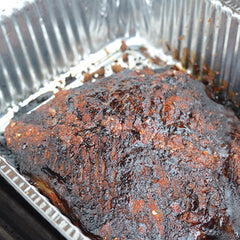
Step 11: Allow the brisket to cook for another hour or two (again, the bigger the brisket, the longer you cook it… so… keep that in mind.), and then remove from the grill.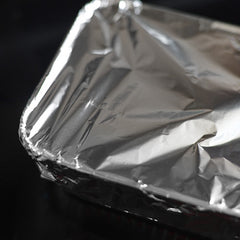
Step 12: Cover the meat with aluminum foil and let it rest for about half an hour. This lets it rest (it’s been working really hard, so be considerate), and soak up some of its juices.
Step 13: Pour a bunch of BBQ sauce all over the brisket, and then brush it all around so it’s all covered and smothered and delicious.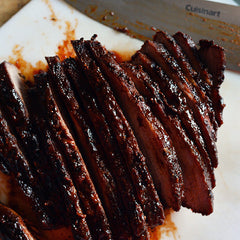
Step 14: Slice that bad boy up and eat it. Maybe even throw it on a bun with some coleslaw. You know, like we said before. Dammit, now we’re hungry.